While that's neither here nor there, I wanted to share with you my not-so-complicated way of organizing my overflowing craft mess. For the last few months, I've had most of it stored in a bulky plastic bin, and what didn't fit was poking holes in a ratty plastic bag from Michael's. Works in progress littered nooks and crannies, reminding me of all I wasn't finishing, while irritating my husband. Finally, I bought two new bins that match the bins we had recently purchased when organizing our garage. One day, when I've completed all those craft projects I hope to complete, the bins will nestle peacefully with their brethren in the garage.
 For the time being, however, I had to make all my crafty stuff fit into these two bins. Now this is a less-than-glamorous approach to organizing craft supplies. I've seen those beautiful and colorful craft rooms and closets on Pinterest. While I wish this were possible for me, I live in an urban condo with no closets or indoor storage. So the bins would have to do!
At left you can see the mess of yarn balls, tangles, and riff-raff. This was my first endeavor: get all my yarn supplies neatly contained in one container. I knew from previous organization attempts {read: moving} that I had mainly yarn crafts and other crafts. Since I had two bins, this distinction would continue.
 I decided to collect all the skeins of unused yarn and stack it into the bin on their ends. This would allow me, when opening the lid, to see what colors and quantities of yarn I had without having to dig. That was the easy part.
Next I needed to figure out what to do with the tangly mess I had created. First things first: unknot everything and wind it into tidy little balls. This took quite awhile, but in the end, I had a nice collection of wound yarn. Glancing around my house, I noticed a stash of Toms Shoes bags {well, technically called flags}. I have been trying to figure out a way to use these and I had it! I dropped all the little yarn balls into the bag. Voila! {The bag had a tag on it, which I used to label the bag with the contents. Always important when organizing!}

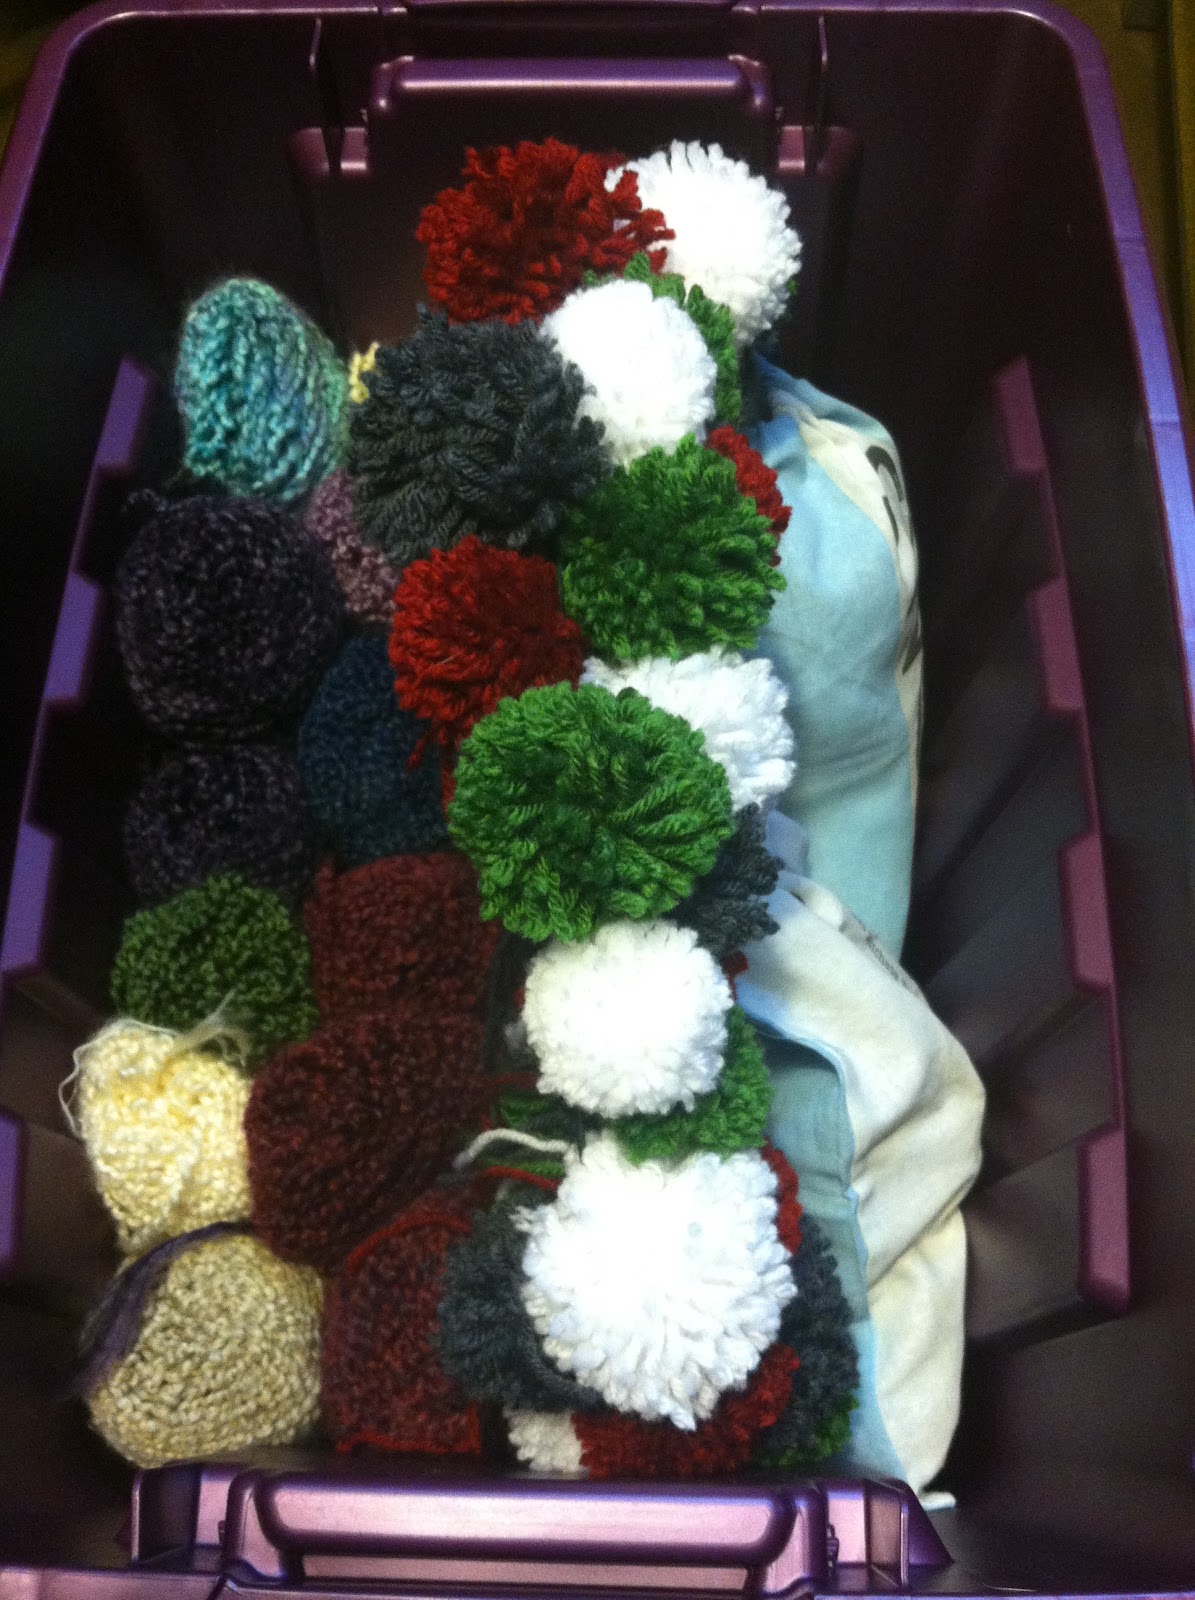
 I had a number of yarn pom-poms from a wreath I'm in the process of making {so what if it's been over 6 months??}. I decided to drop those into another Toms bag, along with the other supplies needed to finish the craft. This was an immediate upgrade from their previous storage in an old shipping box. {I labeled this bag, too, as it would be confusing with two Toms bags in one bin!}
From here it was a matter of assembling everything into the bin to be visible and easily accessible. This included adding any of my crochet books, patterns, guides, hooks, and unfinished projects {read wreath form partially filled out with pom-poms}.
 Next I had to tackle the "other" craft items, all those miscellaneous projects spewing from the plastic bag. Yikes. This mess contained the remnants of hat making, stationery making, thread-wrapped eggs, drawing and art supplies, magazine bead necklaces from when I was in middle school, and other random mish-mash.
 |
| Almost done! |
This was a bit more time-consuming, as I had to sort through everything, decide what was really worth keeping, what wasn't, and what belonged with what. I had previously grouped many similar items in plastic zip-top bags, and that appeared to be working fine. There were a number of other random items, though, and I decided to stick those into yet another set of Toms bags. This cut down on the loose stuff floating around my bin! Many projects had already been contained in tote bags, too, so I allowed them to stay. Again, I stacked most items on their ends so I could see what was in the bin just by opening the lid. This saves me from having to dig to the bottom of a bin for something larger or unseen.
In the end, the bins are not as fancy or glamorous as Martha Stewart's craft closet, but they work for my home and my projects.


No comments:
Post a Comment